Recent Posts
9 Best Quartz Banger Upgrades Under $20 in 2026 (Kits, Slurpers & More)
Published on January 09, 2026
How to Turn a Bong Into a Dab Rig (And Vice Versa)
Published on December 23, 2025
Quartz Banger vs. Traditional Dab Nail: Which Should You Buy?
Published on November 22, 2025
The Ultimate Thanksgiving & Friendsgiving Gift Guide: Perfect Picks for Every Budget
Published on November 12, 2025
Cyber Monday Steals: Top Bongs, Dab Rigs, and Oil Burners for the Best Value
Published on November 12, 2025
The Ultimate Black Friday Stocking Stuffer Guide (Awesome Gifts Under $30)
Published on November 12, 2025
How to Clean an Oil Burner Pipe: The Ultimate Guide for Crystal Clear Hits

Smoke MEGA |
Why a Clean Pipe Matters
Nothing ruins a fresh session faster than the harsh, burnt taste of old residue. If your oil burner pipe is clouded up with dark "reclaim" or carbon buildup, you aren't just hurting the flavor—you are restricting airflow and making it harder to gauge your heat.
The good news? You don't need to be a glassblower to get it looking brand new. Whether you prefer a quick chemical soak or the precise heat of a torch, we have the expert methods to restore that crystal-clear shine. Let's get your gear back in rotation.
What You Will Need
Before we start scrubbing, gather your supplies. You likely have most of these at home, but for the best results, we recommend using dedicated cleaning products designed for borosilicate glass.
- The DIY Kit: Isopropyl Alcohol (91% or higher works best) and coarse salt (Epsom or Sea Salt).
- The Tools: Q-Tips, pipe cleaners (chenille stems), and a Ziploc bag.
- The Pro Solution: Formula 420 Pipe Cleaner (highly recommended for instant results).
- Heat Source: A reliable Scorch Torch if you are using the "burn-off" method.
Method 1: The Shake and Soak (Best for Heavy Buildup)
This is the classic, safest method for deep cleaning your glass without applying heat stress.
- Bag It Up: Place your oil burner pipe into a Ziploc bag.
- Add the Solution: Pour in enough Isopropyl Alcohol to cover the pipe. Add a tablespoon of coarse salt. The alcohol dissolves the sticky resin, while the salt acts as a gentle abrasive scrubber.
- Shake It: Seal the bag tight and shake it vigorously for 2–3 minutes. You’ll see the liquid turn dark as the gunk breaks loose.
- Rinse & Dry: Remove the pipe and rinse it thoroughly with warm water. Use a Q-tip to wipe away any lingering spots in the bowl or stem. Let it dry completely before use.
Method 2: The Torch Clean (The "Burn Off")
For experienced users who want a quick clean, the "burn-off" method is effective but requires caution. Note: Only attempt this with high-quality Borosilicate glass (Pyrex), like the pipes we sell at SmokeMEGA, as cheap glass may crack under thermal shock.
Hold the pipe by the stem (or use tongs) and apply heat directly to the blackened areas of the bowl using a Single Jet Flame Torch. The high heat will vaporize the carbon residue, turning it into white ash that can be easily wiped away once the glass cools. Never run a hot pipe under cold water—it will shatter.
Method 3: The Formula 420 Quick Fix
If you hate the mess of salt and alcohol, grab a bottle of Formula 420 Pipe Cleaner. This stuff is engineered to strip resin instantly. Just pour a little into your pipe, cover the holes, give it a quick shake, and rinse. It cleans and deodorizes in seconds, leaving your glass sparkling without the elbow grease.
When Should You Just Replace It?
Sometimes, a pipe is too far gone. If your glass has developed "chazzing" (permanent cloudy white heat stains) or has hairline cracks, cleaning won't help. Using compromised glass can be dangerous.
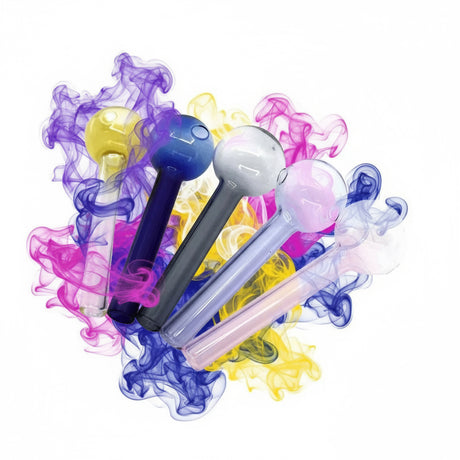
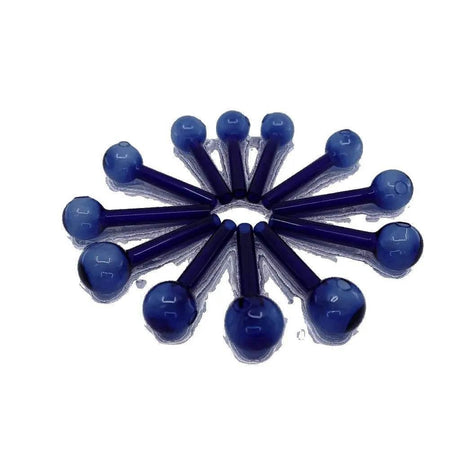
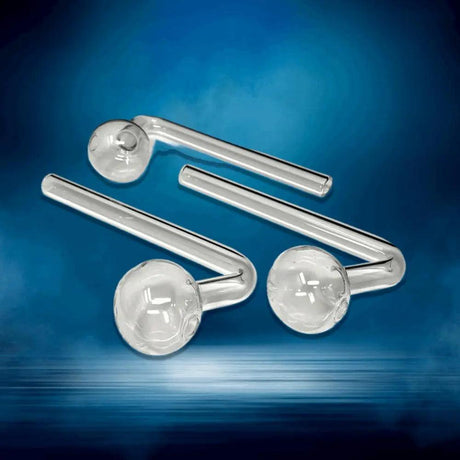
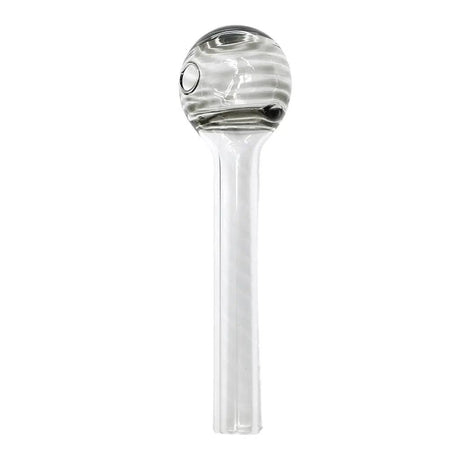
Since oil burners are daily drivers, it is smart to keep spares on hand. We offer unbeatable value on bulk packs, like our 12-Piece Colored Striped Pack or the heavy-duty 6" Durable Borosilicate Oil Burner. At these prices, grabbing a fresh piece is often easier than scrubbing an old one.
Why Shop Smoking Gear at SmokeMEGA?
At SmokeMEGA, we know glass. We are a US-based team in Los Angeles dedicated to providing high-quality, durable Borosilicate glass that can stand up to daily use and cleaning. We don't drop-ship cheap, thin glass from overseas; we stock and check our inventory right here in the USA.
We make upgrading your setup easy with Fast and Free Shipping on all orders over $14.99. Plus, every order over $30 comes with a FREE Surprise Gift. Whether you need cleaning supplies or a new rig, we've got you covered with hassle-free 14-day returns.
Frequently Asked Questions
Can I use boiling water to clean my oil burner pipe?
Yes, boiling water can help loosen residue, but be extremely careful. Dropping a room-temperature pipe into boiling water (or vice versa) can cause thermal shock and crack the glass. We recommend the alcohol/salt method or Formula 420 for safety.
How do I get the white cloudy stains off my pipe?
Those white stains are often "chazzing" caused by overheating the glass. Unfortunately, this is usually permanent damage to the glass structure. If this happens, it is time to grab a replacement from our Oil Burner collection.
Is it safe to scrape the resin out?
We advise against scraping with metal tools, as this can scratch the glass, creating weak points that may lead to cracks later. Chemical cleaning or heat cleaning is much safer for the longevity of your piece.
What is the best torch for cleaning?
A butane torch like the Scorch Torch is ideal. It provides a concentrated flame that is hot enough to burn off residue without overheating the entire pipe.
Conclusion
A clean oil burner pipe isn't just about looks—it's about performance, flavor, and hygiene. Whether you choose the DIY soak method or upgrade to a professional cleaner, taking care of your glass ensures every hit is smooth. If your current piece has seen better days, check out our extensive collection of affordable, high-quality replacement pipes at SmokeMEGA today!

