
Recent Posts
How to Turn a Bong Into a Dab Rig (And Vice Versa)
Published on December 23, 2025
Quartz Banger vs. Traditional Dab Nail: Which Should You Buy?
Published on November 22, 2025
The Ultimate Thanksgiving & Friendsgiving Gift Guide: Perfect Picks for Every Budget
Published on November 12, 2025
Cyber Monday Steals: Top Bongs, Dab Rigs, and Oil Burners for the Best Value
Published on November 12, 2025
The Ultimate Black Friday Stocking Stuffer Guide (Awesome Gifts Under $30)
Published on November 12, 2025
Your Go-To Online Smoke Shop: Discover Top Bongs & Dab Rigs for Effortless Hits
Published on October 03, 2025
Best Selling

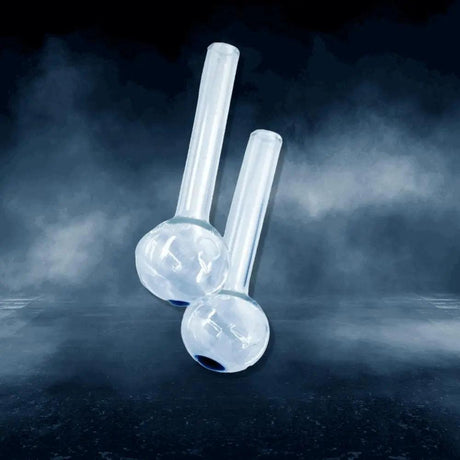
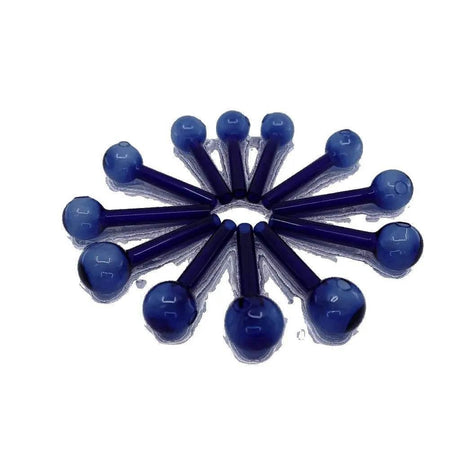
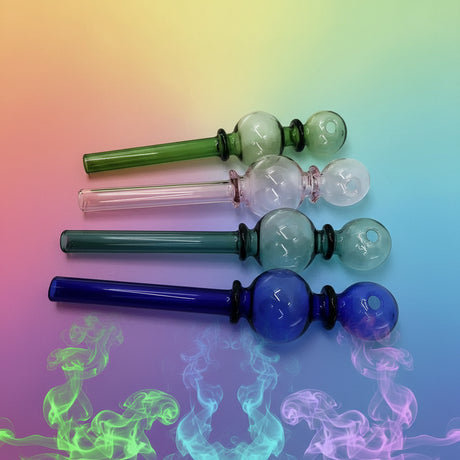
4" Blue Dot Oil Burner Pipe | Pyrex Glass Pipe (12 per pack)
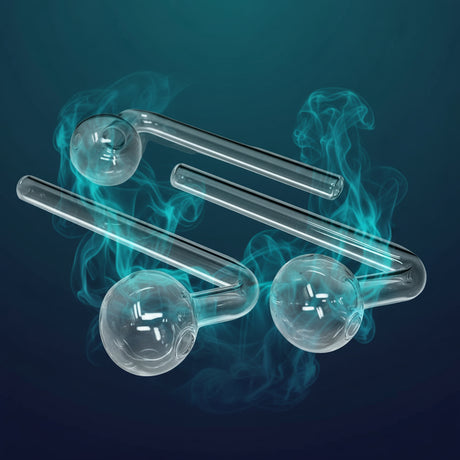

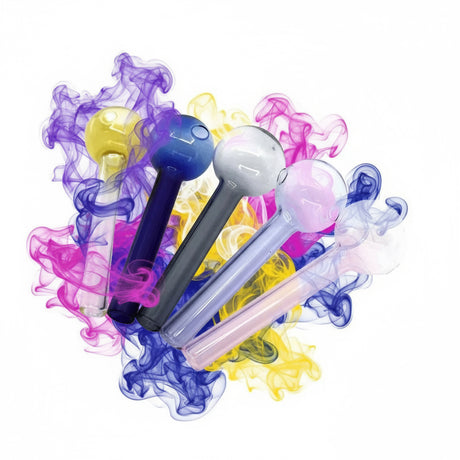
4-inch (12 pcs pack ) Colorful Pyrex Glass Thick Oil Burner Pipe

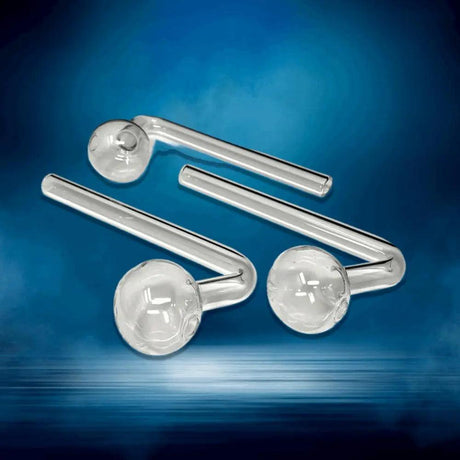
6" L Shaped Bent Oil Burner Pipe- Pack of 5 | Durable Borosilicate Glass


8" Jumbo Clear Glass Oil Burner | High-Quality Durable Borosilicate Glass


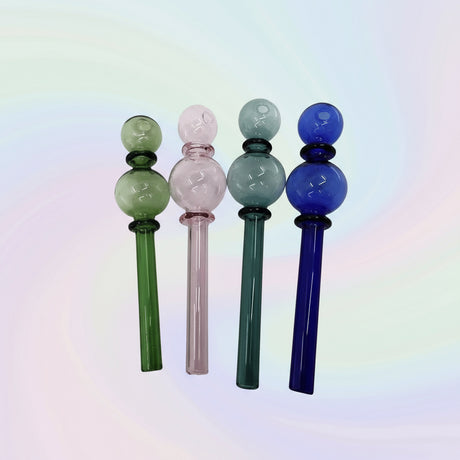
Colorful 6 Inch Durable Borosilicate Oil burner pipe - Pack of 5

How to Disassemble a Glass Bong for Cleaning: A Beginner-Friendly Guide
Smoke MEGA |
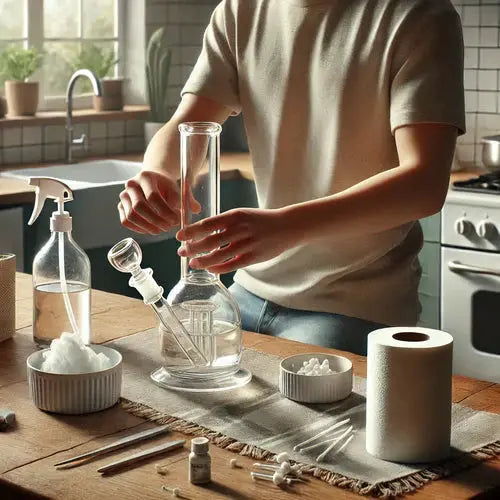
Cleaning your glass bong is one of the ways to make sure you're going to have a fantastic experience. Those dirty bongs not only look unsightly but can also affect the flavor and smoothness of your hits. Disassembling your bong for a deep clean might sound hard, but it isn't if you follow the right steps. This is going to guide you, step by step, to disassemble your glass bong and keep it in perfect condition even after years.
Why Cleaning Your Bong Matters
A clean bong isn't just for looks. It greatly improves your smoking experience.
Lock in Flavor: Resin buildup gives your herbs a nasty taste. A clean bong means every hit will be fresh and full of flavor.
Healthier Smoking: Bongs collect bacteria, mold, and other junk over time. Regular cleaning keeps your sessions safe and enjoyable.
Smooth Hits Every Time: Harsh hits come from dirty water and clogged percolators. Clean bongs equate to smooth, easy-to-inhale smoke.
Increased Lifespan: A clean bong lasts longer. It prevents wear and tear.

Step-by-Step Guide to Disassemble a Glass Bong
The first step to effectively cleaning your bong is proper disassembly. Here's a step-by-step process for disassembling your bong seamlessly.
Step 1: Drain the Bong
First, drain the bong of any water. Run some warm water through it to loosen up some of the debris that might make this process easier. This will also ensure that you do not spill any dirty water during the process, which could be messy.
Step 2: Remove the Bowl
Place your herbs in the bowl. You should pull it directly out of the bong joint. Do not twist as this can break the glass. If it is stuck in, simply run warm water over the joint. Now place the bowl on a soft towel to prevent chipping or breaking.
Step 3: Remove the Downstem
The downstem is attached to the bowl and main water chamber. Hold it tight at the base and wiggle it free with deliberate motions. If it is stuck, try placing some warm water on the joint or a little bit of rubbing alcohol to loosen up the resin buildup. Take it off and set it aside on a towel for safekeeping.
Step 4: Remove Additional Attachments
Next, remove any extra features from your bong. This includes ash catchers and percolators. These pieces can be fragile, so be gentle with them; set them out on a soft surface where they cannot get broken.
Step 5: Inspect the Bong for Fixed Parts
Many bongs have fixed percolators or fancy, non-removable designs. Do not force them off. Instead, clean them while they are attached to the main chamber.
Step 6: Organize the Components
Set all removable pieces in a systematic order on a towel or mat. This step prevents the misplacement of any pieces and cleans up the speed.
Tips for Safe Disassembly
Work Over a Soft Surface: Glass parts can slip and break easily. Place a towel or mat underneath your workspace for added protection.
Apply Warm Water: It helps loosen resin and sticky joints. This makes disassembly easier.
Avoid Overhandling: Handle one piece at a time to reduce the risk of dropping or damaging your bong.
After Disassembly: Cleaning Your Bong
The only advantage of this bong, after disassembly, is that it cleans easier. Here's how to treat every piece:
Bowl and Downstem: Soak in a mixture of rubbing alcohol and coarse salt. Seal in a plastic bag, shake it lightly, and allow it to rest for 30 minutes.
Main Chamber: Put some rubbing alcohol and coarse salt into the chamber. Cover the openings with your hands or put the rubber caps on, and shake well to remove the resins.
Percolators and Fixed Parts: Use pipe cleaners or cotton swabs to clean tight areas. Pay great attention to removing resin and buildup from those small crevices.
Final Rinse: Then, rinse each piece with warm water. This will remove all the cleaning solutions and resins.
Reassembling Your Bong
Once all parts are clean and dry, reassemble your bong in the reverse order:
- Insert the downstem into the joint.
- Attach the bowl to the downstem.
- Reattach any additional components, such as ash catchers or percolators.
- Fill the bong with fresh water, ensuring it reaches the proper level for filtration.
Maintaining Your Bong for Long-Term Use
To avoid frequent heavy cleaning, follow these maintenance tips:
- Clean Regularly: Rinse your bong after every use to prevent resin buildup. A quick clean saves time and effort in the long run.
- Use Filtered Water: Tap water can leave mineral deposits. Filtered water keeps your bong cleaner for longer.
- Inspect for Damage: Check for cracks or chips regularly. Repair or replace damaged parts to avoid further issues.
Conclusion
You don’t have to complicate disassembling your glass bong for cleaning. With this step-by-step guide, you can keep your bong spotless and in perfect condition. Beginners and seasoned smokers alike need to maintain their devices. It ensures smoother hits, better flavor, and a healthier experience.
For high-quality glass bongs and cleaning supplies, explore the options at SmokeMega. A clean bong is the key to enjoying every smoking session to the fullest.


